Hey there, fellow learners! Today marks the beginning of my journey into the world of Next.js, and I couldn't be more excited to share my experiences with you all. After delving into the intricacies of backend architecture in my previous studies, I felt ready to explore the frontend world with a tool that promises a lot: Next.js.
One of the first things that caught my attention was the unique file structure of a Next.js project. It's fascinating to see how neatly everything is organized, making it easier to understand and navigate through the codebase.
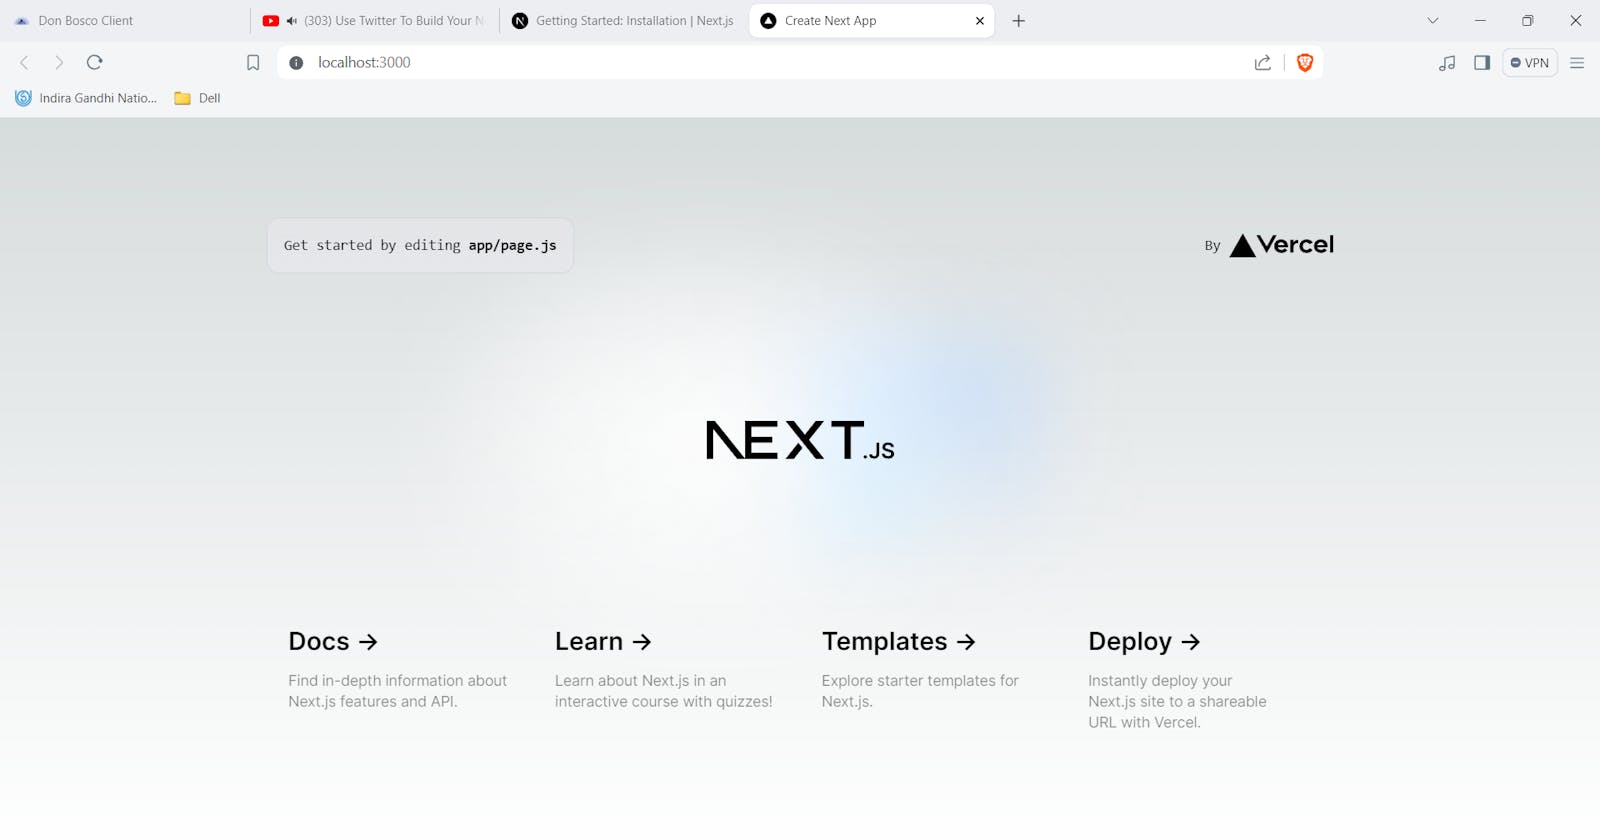
Next, I delved into hosting my Next.js app locally, and I was pleasantly surprised by how straightforward the process was. With just a few simple steps, I had my app up and running on my localhost, ready for testing and development.
But what really blew my mind was learning about how Next.js allows you to write code for both client-side and server-side rendering at the same time. This opens up a whole new world of possibilities in terms of performance optimization and user experience enhancement.
I can't wait to dive deeper into Next.js and explore its capabilities further. Stay tuned for more updates on my Next.js journey!
